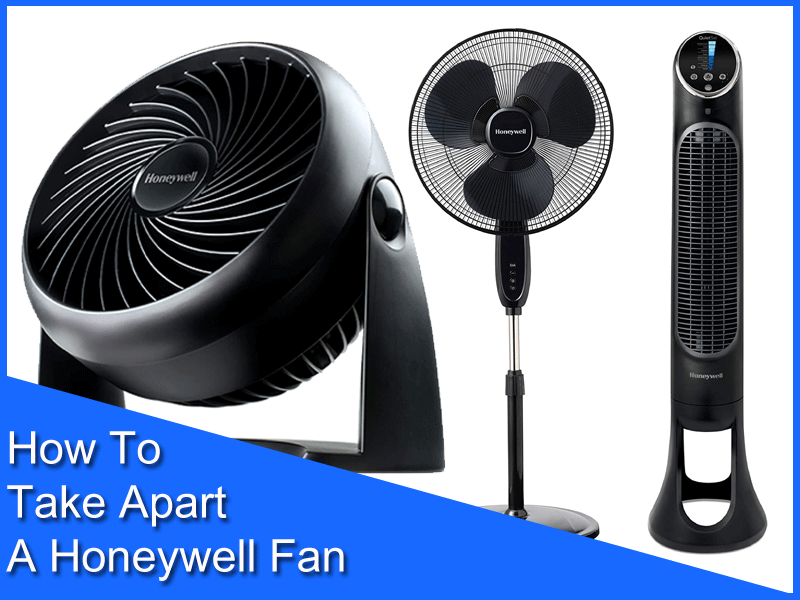
In today’s world, taking matters into your own hands is becoming increasingly popular, especially when it comes to household appliances. One such appliance that often requires maintenance or repair is the Ultitech fan. Whether it's a noisy blade or a malfunctioning motor, knowing how to take apart your Ultitech fan can save you time and money. By understanding the inner workings of your fan, you can quickly troubleshoot issues and ensure optimal performance.
But how can you safely and effectively disassemble your Ultitech fan without causing damage? This guide will provide you with step-by-step instructions, essential tools, and safety precautions to consider. With the right approach, you can navigate through the components of your fan with ease and confidence.
So, whether you're a DIY enthusiast or just someone looking to fix a pesky fan, this article will help you master the art of taking apart your Ultitech fan. Get ready to roll up your sleeves and dive into the intricate world of fan mechanics!
What Tools Do You Need to Take Apart an Ultitech Fan?
Before diving into the disassembly process, it's crucial to gather the necessary tools. Here’s a list of what you’ll need:
- Screwdriver set (flathead and Phillips)
- Pliers
- Wire cutters
- Safety goggles
- Soft cloth or towel
How Do You Safely Disconnect Your Ultitech Fan?
Ensuring that your Ultitech fan is safely disconnected from the power source is the first step in the disassembly process. Follow these simple steps:
- Unplug the fan from the electrical outlet.
- Inspect the cord for any damage to avoid electrical hazards.
- Allow the fan to cool down if it has been in use.
What Are the Steps to Remove the Fan Guard?
One of the primary components to remove is the fan guard. Here are the steps:
- Locate the screws holding the fan guard in place.
- Using the appropriate screwdriver, carefully remove the screws.
- Gently pull the guard away from the fan, being cautious of any sharp edges.
How to Take Apart the Fan Blades?
The fan blades are usually attached to the motor shaft. To take them apart, follow these steps:
- Identify the mechanism that holds the blades in place—this could be a locking pin or a screw.
- Carefully remove the locking mechanism using your screwdriver or pliers.
- Once the locking pin or screw is removed, gently pull the blades off the motor shaft.
How to Access the Motor of Your Ultitech Fan?
After removing the fan blades, you can access the motor. Here’s how:
- Look for a housing cover that encases the motor.
- Remove any screws or clips securing the cover in place.
- Carefully lift the cover off to expose the motor.
What Should You Inspect Inside the Fan?
Once you have accessed the motor, it's essential to inspect the following components:
- Wires for any fraying or damage
- Bearings for wear and tear
- Motor housing for dust and debris
How to Reassemble Your Ultitech Fan?
After cleaning and inspecting all components, it’s time to reassemble your fan. Follow these steps:
- Place the motor cover back onto the motor and secure it with screws or clips.
- Reattach the fan blades by aligning them with the motor shaft and securing the locking mechanism.
- Finally, replace the fan guard and secure it with screws.
What Safety Precautions Should You Take?
Safety should always be your top priority when working with electrical appliances. Here are some precautions to consider:
- Always unplug the fan before starting any disassembly.
- Wear safety goggles to protect your eyes from debris.
- Be mindful of sharp edges, especially when handling the fan guard and blades.
Conclusion: Why Knowing How to Take Apart an Ultitech Fan is Beneficial?
Learning how to take apart your Ultitech fan not only empowers you to fix minor issues but also promotes a sense of accomplishment. With the right tools and knowledge, you can extend the life of your fan and ensure it continues to operate efficiently. Remember to always prioritize safety and take your time during the disassembly process. Happy fixing!