Learning how to draw a bow can be an incredibly rewarding experience, whether you are an aspiring artist or a hobbyist looking to enhance your skills. This timeless technique is not only useful for creating stunning artwork but also serves as a fundamental practice in various artistic disciplines. In this guide, we will take you through the essential steps and tips to help you master the art of drawing a bow, enabling you to unleash your creativity and express yourself through your drawings.
To begin with, understanding the basic structure of a bow is crucial. A bow consists of several key components, including the limbs, string, and grip. By familiarizing yourself with these elements, you can create more accurate and realistic representations in your drawings. Moreover, practicing drawing a bow can also improve your overall drawing skills, as it requires attention to detail, proportion, and perspective.
In this comprehensive guide, we will explore various techniques, tips, and tricks that will assist you in mastering how to draw a bow. From the initial sketch to refining your artwork, we will cover everything you need to know to bring your artistic vision to life. Let’s get started on this exciting journey into the world of bow drawing!
What Are the Basic Components of a Bow?
Understanding the structure of a bow is essential for accurately depicting it in your drawings. The main components include:
- Limbs: The upper and lower parts of the bow that provide its shape and flexibility.
- String: The cord that connects the two limbs and is used to propel the arrow.
- Grip: The section where the archer holds the bow, typically located in the middle.
- Arrow Rest: The spot where the arrow rests before being shot.
How to Start Drawing a Bow?
Begin by sketching the basic outline of the bow. Here are some steps to help you get started:
- Draw the Central Grip: Start by drawing a rectangular shape in the middle that will represent the bow's grip.
- Sketch the Limbs: From each side of the grip, draw two curved lines that extend outward to form the limbs of the bow.
- Add the String: Draw a line connecting the two limbs to represent the bowstring.
What Techniques Can Enhance Your Bow Drawing?
To improve your bow drawing skills, consider the following techniques:
- Use Reference Images: Look at photographs or illustrations of bows for accurate details.
- Practice Different Angles: Experiment with drawing the bow from various perspectives to understand its form better.
- Focus on Proportions: Ensure that the limbs and grip are proportionate to create a realistic appearance.
How to Add Details to Your Bow Drawing?
Once you have the basic structure of the bow, it’s time to add details:
- Texture: Use shading techniques to create a wood-like texture for the grip and limbs.
- Refine the String: Add slight curves and tension lines to depict the bowstring accurately.
- Incorporate Accessories: Consider adding sights, stabilizers, or quivers to enhance the realism of your drawing.
What Common Mistakes Should You Avoid When Drawing a Bow?
As you practice drawing a bow, be mindful of these common mistakes:
- Ignoring Proportions: Ensure that all parts of the bow are in proportion to each other; otherwise, it may appear unrealistic.
- Skipping the Sketching Stage: Always start with a light sketch before refining your drawing to avoid major errors.
- Neglecting Shading: Proper shading can significantly enhance the depth and dimension of your drawing.
How to Finish Your Bow Drawing?
Once you are satisfied with the details, it’s time to finalize your drawing:
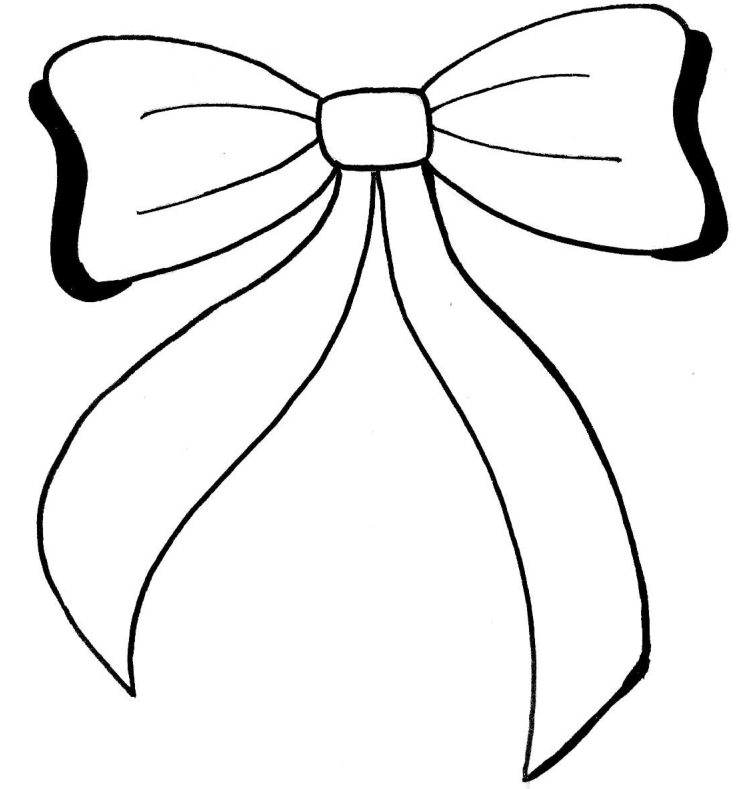
- Outline: Use a fine pen or darker pencil to outline your drawing.
- Erase Guidelines: Carefully erase any unnecessary sketch lines.
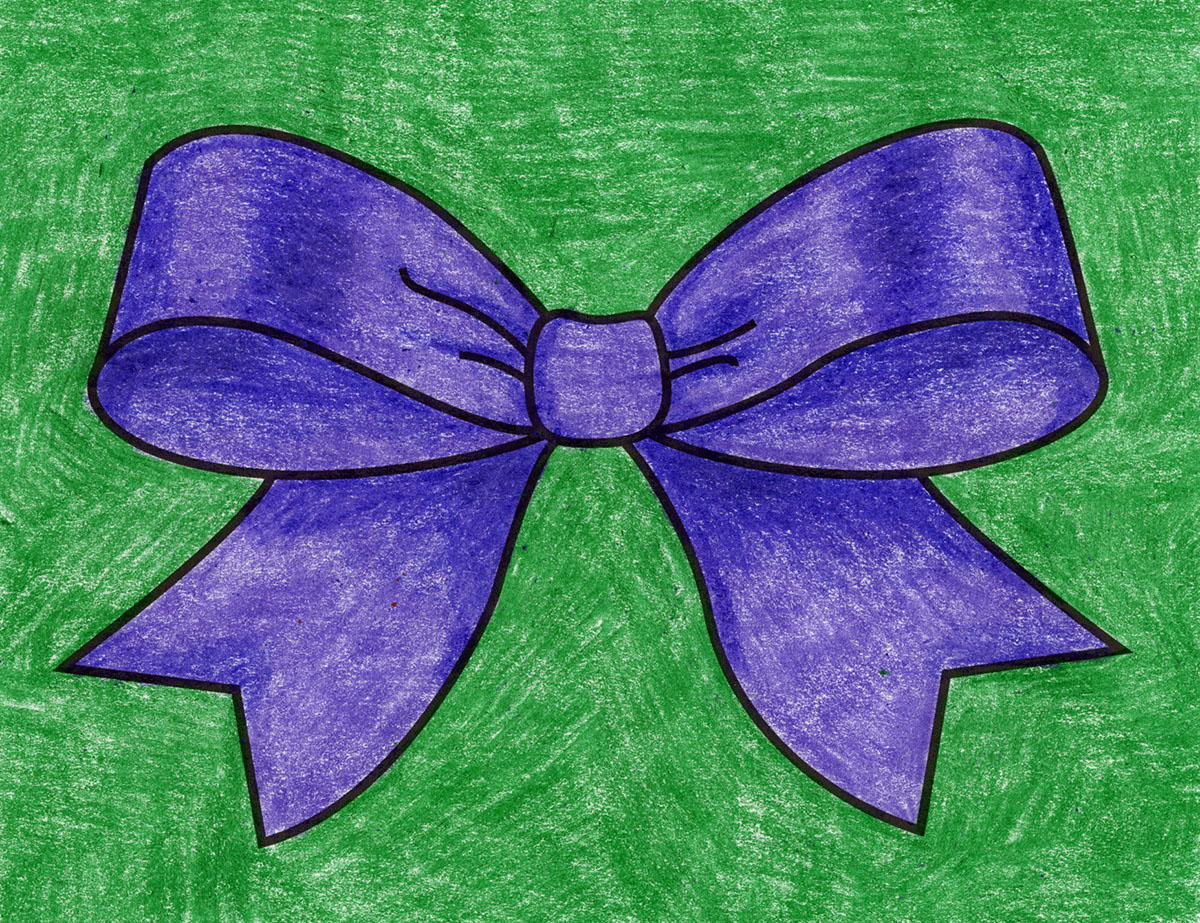
- Coloring: If desired, use colored pencils or markers to add color to your bow.
What Are Some Advanced Techniques for Drawing a Bow?
If you want to take your bow drawing skills to the next level, consider these advanced techniques:
- Dynamic Poses: Experiment with drawing the bow in action, such as being drawn or released.
- Incorporating Backgrounds: Place your bow in a scenic setting to add context to your drawing.
- Using Digital Tools: Explore digital drawing software for added versatility and effects.
How to Keep Practicing Your Bow Drawing Skills?
Continuous practice is key to improvement. Here are some tips to keep honing your skills:
- Sketch Regularly: Dedicate time each week to practice drawing bows in different styles and forms.
- Join Art Communities: Engage with fellow artists for feedback and inspiration.
- Take Classes or Workshops: Consider enrolling in art classes that focus on drawing techniques.
Conclusion: How to Draw a Bow Like a Pro?
Learning how to draw a bow is an enjoyable and fulfilling journey that can enhance your artistic abilities. By understanding the basic components, practicing regularly, and applying advanced techniques, you can create stunning and realistic bow drawings. Remember, the key to mastering this art is patience and persistence. So, grab your pencils and start drawing your way to success!